Candlestick charts were developed in Japan in the 18th century to track rice prices. Today they are the universal language of financial markets worldwide.
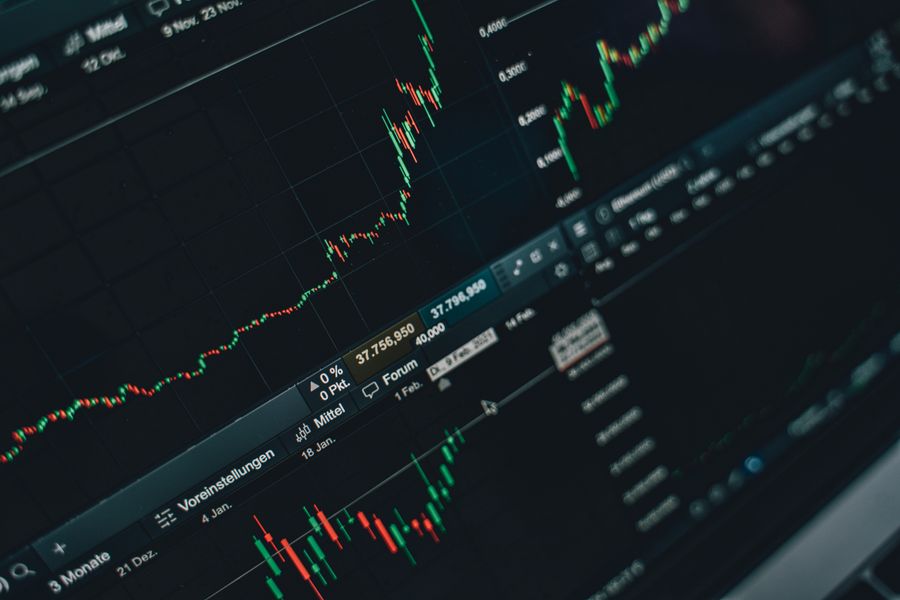
When you first open a crypto chart, it can look like a wall of noise — green bars, red bars, thin lines sticking up and down. But every one of those bars is a compressed snapshot of a battle: buyers versus sellers, over a specific period of time.
Once you learn to read candlesticks, that noise transforms into a conversation. You start seeing exhaustion, indecision, aggression, and momentum — all encoded in the shape and position of each candle. This guide will teach you how to have that conversation, starting from the very basics and working up to the 10 patterns that matter most.
🔑 Key Takeaways
- Every candlestick has four data points: open, high, low, and close
- The body shows the range between open and close; the wicks show where price reached but was rejected
- Patterns are divided into reversal (trend change) and continuation (trend pause then resume)
- A pattern is only meaningful in context — at a key level, after a strong move, with confirming volume
- Never trade a candlestick pattern in isolation — always combine with support/resistance, RSI, or a moving average
- The 10 patterns in this guide are all you need to get started — master these before learning any others
Candlestick Anatomy: What Every Part Means
Before patterns, you need to understand what a single candle actually shows you. Each candle represents one time period — one minute, one hour, one day, whatever timeframe you are on. It encodes four pieces of information:
| Part | What It Shows | What It Tells You |
|---|---|---|
| Open | The price when the candle began | Where the battle started |
| Close | The price when the candle ended | Who won the battle this period |
| High (upper wick) | The highest price reached during the period | How far bulls pushed — and whether sellers rejected it |
| Low (lower wick) | The lowest price reached during the period | How far bears pushed — and whether buyers rejected it |
| Body | The range between open and close | The size of commitment — big body = decisive move |
| Colour | Green = closed above open. Red = closed below open | Bulls won (green) or bears won (red) this period |
Left: a bullish (green) candle — close is above open. Right: a bearish (red) candle — open is above close. Wicks show price extremes that were rejected before the close.
💡 The Key Insight About Wicks
A long lower wick means sellers pushed price down hard during the period — but buyers fought back and pushed it most of the way back up before the close. That rejection of lower prices is bullish information. A long upper wick means the opposite — buyers pushed hard but sellers rejected higher prices. Where price closes relative to the session's range matters far more than where it briefly travelled.
The 10 Most Important Candlestick Patterns
There are over 100 named candlestick patterns. You do not need to know most of them. The 10 below cover the vast majority of situations you will encounter as a beginner — and they are the ones professional traders actually use day to day.
They are split into three categories: single-candle patterns, two-candle patterns, and three-candle patterns.
Single-Candle Patterns
Small body near the top of the candle's range, with a long lower wick at least twice the body's length. Appears after a downtrend. Sellers pushed price down sharply but buyers fought back and reclaimed most of the losses. The long lower wick is evidence of buying demand at lower prices.
Small body near the bottom of the range with a long upper wick. The mirror image of the Hammer — buyers pushed price up aggressively but sellers rejected higher prices and pushed it back down. Appears after an uptrend. The long upper wick signals rejection of higher prices.
Open and close are nearly identical, creating an extremely small or invisible body. Neither buyers nor sellers won. On its own, a doji is indecision — but at a key support or resistance level after a strong trend, it warns that the trend may be losing momentum.
A full body with no wicks at all. A green Marubozu means price opened at the low and closed at the high — buyers were in total control all session. A red Marubozu is the bearish version. High conviction candle — signals strong momentum continuation, not a reversal.
Looks identical to the Hammer but appears at the top of an uptrend rather than a downtrend. Same small body with a long lower wick — but context changes everything. After an extended rally, it suggests buying pressure is weakening and smart money may be distributing.
Small body at the bottom of the range with a long upper wick. Appears after a downtrend. Buyers made an attempt to push higher but sellers held for now — however, the attempt itself signals building bullish interest. Needs confirmation from the next candle to be actionable.
Two-Candle Patterns
A small red candle followed by a larger green candle whose body completely engulfs the previous candle's body. The second candle shows buyers completely overwhelming the sellers from the previous session. One of the most reliable reversal patterns — especially powerful at key support levels.
A small green candle followed by a larger red candle that fully engulfs it. Sellers take complete control after a period of buyer strength. Most powerful at resistance levels after an extended uptrend. The larger the second candle relative to the first, the stronger the signal.
Three-Candle Patterns
Three candles: a large red candle, a small-bodied middle candle (or doji) that shows indecision, and a large green candle that closes deep into the first candle's body. The sequence shows selling → indecision → buyer takeover. Appears at the bottom of downtrends.
The inverse of the Morning Star — a large green candle, a small-bodied middle candle showing indecision, and a large red candle that closes deep into the first candle's body. Buying → indecision → seller takeover. Appears at the top of uptrends near resistance.
Patterns in Context: What They Look Like on a Chart
Knowing the shape of a pattern is only half the knowledge. The other half is understanding that the same pattern means different things depending on where it appears. The diagram below shows the four highest-impact patterns at the key locations where they carry the most weight.
The same pattern carries very different weight depending on location. All four setups above are at key levels — that is where candle patterns become high-probability signals.
Context Is Everything: Why Location Matters More Than Shape
Here is the most important thing in this entire guide: a candlestick pattern without context is just a shape.
A hammer in the middle of a chart, with no nearby support and no clear trend, means almost nothing. The same hammer at a major support level, after a prolonged downtrend, with RSI showing oversold conditions — that is a high-conviction setup worth acting on.
Before you trade any pattern, ask yourself three questions:
- Where is it? Is it at a key support or resistance level? At a Fibonacci level? On a major moving average?
- What came before it? Is there a clear trend it could be reversing? Has price been extended for a long time without a pause?
- Does anything else confirm it? Is RSI showing oversold or overbought? Is volume picking up at this candle? Does MACD show divergence?
✅ The Three-Confluence Rule
Only act on a candlestick pattern when at least two other factors support it. One candle alone = noise. One candle + key level = worth watching. One candle + key level + RSI confirmation = a genuine setup.
Reversal Patterns vs Continuation Patterns
All candlestick patterns belong to one of two categories:
| Type | What It Signals | Examples | Where to Look |
|---|---|---|---|
| Reversal | Trend is likely ending — price about to change direction | Hammer, Shooting Star, Engulfing, Morning Star, Evening Star | At support (bullish reversal) or resistance (bearish reversal) |
| Continuation | Trend is pausing, then likely resuming in the same direction | Marubozu, Three White Soldiers, Rising Three Methods | After a pullback to a moving average or support in a strong trend |
Three White Soldiers (Continuation / Reversal)
Three consecutive bullish candles, each closing higher than the last, with small wicks. Signals strong, sustained buying pressure. Can appear at the start of a new uptrend (reversal) or after a brief consolidation in an existing bull run (continuation). The more evenly sized the three candles, the stronger the signal.
Three Black Crows
The bearish equivalent — three consecutive red candles each closing lower. Signals strong selling momentum and is particularly powerful after an extended uptrend or at a major resistance level.
Timeframes: Which Chart to Use?
Candlestick patterns appear on every timeframe but do not carry equal weight across all of them.
| Timeframe | Pattern Reliability | Best For |
|---|---|---|
| 1 min / 5 min | Low — lots of noise | Scalpers only; patterns fail frequently |
| 15 min / 1 Hour | Moderate | Day trading; useful in context of daily trend |
| 4 Hour | Good | Swing trading; solid reliability at key levels |
| Daily | Best for most traders | Best balance of signal quality and noise reduction |
| Weekly | Highest reliability | Macro trend analysis; major turning points |
⚠️ Always Check the Higher Timeframe First
A bullish candle pattern on a 1-hour chart means very little if the daily chart is in a strong downtrend. Always start with the daily or weekly chart to establish the macro context before zooming into smaller timeframes for entries. Trading with the higher timeframe trend dramatically improves pattern reliability.
Common Mistakes Beginners Make
Trading Patterns in Isolation
A single candle on a clean chart with no nearby levels and no confirming indicators is not a trade signal — it is a shape. Every pattern needs context. This is the most common mistake and the easiest to fix.
Ignoring the Previous Trend
A Hammer is a bullish reversal signal — but only if it appears after a downtrend. A Hammer in the middle of an uptrend is not a reversal setup; it is just a candle with a long wick. Similarly, a Shooting Star is only meaningful after an uptrend. Pattern names describe shapes — context determines meaning.
Not Waiting for Confirmation
The candle after the pattern is your confirmation. After a Hammer, wait for the next candle to close green before entering. After an Evening Star, wait for the next candle to close red before shorting. Entering immediately on the pattern candle itself exposes you to false signals.
Treating Patterns as Guarantees
No pattern has a 100% success rate. Even the most reliable patterns fail regularly in crypto, especially during high-volatility events and news-driven moves. A pattern is a probability signal, not a prediction. Always use a stop-loss and size your trade correctly — see our dedicated guide on How to Size Your Crypto Trades.
Frequently Asked Questions
Glossary
- Body
- The rectangular section of a candlestick between the open and close price. A large body = decisive move; small body = indecision.
- Wick / Shadow
- The thin lines above and below the body showing the session's high and low. Long wicks indicate price rejection.
- Bullish Candle
- A candle that closes above its open — green on most platforms. Buyers won this period.
- Bearish Candle
- A candle that closes below its open — red on most platforms. Sellers won this period.
- Reversal Pattern
- A candle or group of candles signalling that the current trend is ending and price may change direction.
- Continuation Pattern
- A pattern indicating the current trend is pausing before resuming in the same direction.
- Confluence
- When multiple independent signals align at the same level or moment — increasing the probability of a valid signal.
- Confirmation
- The candle after the pattern that validates it — e.g. a green close after a Hammer. Always wait for confirmation before acting.
Continue Learning
📚 Put It All Together
Candlestick patterns are most powerful when combined with your other tools. Look for patterns at support and resistance levels for the highest confluence. Use RSI to confirm whether a pattern at support is genuinely oversold. Check your moving averages to confirm you are trading with the trend. And before every trade, use the Position Size Calculator to ensure your risk is properly managed.